How to Install Blinds: A Step-by-Step Guide
This guide walks through the whole process of blind installation, from choosing a mounting style through to testing the finished blind.


Key Takeaways
- Measure the width and drop of each window in three places and work from the smallest width for an inside fit, because very few window frames are perfectly square.
- Brackets need to be level and fixed into timber or the right wall plug, and any corded blind needs its cord safety device fitted before the blind is used.
- Installing a few standard blinds yourself is very achievable, while large, heavy or motorised blinds and shutters are best measured and fitted by a professional.
Installing blinds is one of the more satisfying jobs you can do around the house, and with the right preparation most people can fit a standard roller or venetian blind in under an hour.
This guide walks through the whole process in the order our installers follow, from choosing a mounting style through to testing the finished blind.
What you need before you start
Gather your tools before you climb the ladder, because stopping halfway through to find a drill bit is how brackets end up crooked. You will need:
- A steel tape measure
- A pencil
- A spirit level
- A cordless drill with timber and masonry bits
- A screwdriver
- The screws and brackets supplied with your blinds
- If you are fixing into plasterboard you will also need wall plugs rated for the weight of the blind
- A stud finder will help you locate solid timber behind the wall.
- A sturdy step ladder is essential for anything above shoulder height, and safety glasses are worth wearing whenever you drill overhead.
Before you begin, unpack the blind, check that every part listed in the instructions is there and read the instructions through once from start to finish.
Inside mount or outside mount?
The first decision is where the blind will sit, because it changes how you measure and where the brackets go.
- An inside mount sits within the window reveal, which gives a clean, built-in look and shows off the architrave. It needs enough depth in the reveal for the brackets and headrail, and it works best when nothing such as a window winder or lock sticks out into the space where the blind will drop.
- An outside mount is fixed to the wall or architrave above the window and overlaps the opening on each side. It suits shallow reveals and windows with handles in the way, and because it covers the edges of the glass it blocks more light, which makes it a good choice for bedrooms.
- A ceiling mount fixes the brackets to the ceiling above the window. It is useful for windows that run almost to the ceiling and can make a room feel taller.
How to measure your window
Measuring for an inside mount
- Measure the width inside the reveal at the top, middle and bottom, and write down the smallest of the three figures.
- Then measure the drop from the top of the reveal to the sill on the left, in the centre and on the right.
- Check the depth of the reveal as well, and note anything that protrudes, such as a lock or a winder.
Measuring for an outside mount
- Decide how far past the opening you want the blind to extend, which is typically around 50 to 100 millimetres on each side, and measure the full width you want covered.
- Measure the drop from where the brackets will sit down to where you want the blind to finish, which is usually just below the sill.
- Always measure each window separately, even when they look identical, and never measure over an existing blind.
- If you are ordering custom blinds, our team will measure every window for you as part of a free measure and quote.
How to install blinds in seven steps
- Prepare the area. Clear furniture away from the window, wipe down the reveal or wall where the brackets will go and make sure the surface is dry.
- Mark the bracket positions. Hold each bracket in place, mark the screw holes with a pencil and keep the brackets an equal distance in from each end. Wider blinds come with a centre bracket, which should sit halfway between the outer two.
- Drill the pilot holes and fix the brackets. Drill pilot holes so the timber does not split, then screw the brackets in firmly. Use timber screws into a timber frame, rated wall plugs in plasterboard and masonry plugs in brick or concrete.
- Check the brackets are level. Lay a spirit level across the brackets before you hang anything, because a bracket that is a few millimetres out will make the whole blind run crooked.
- Fit the headrail. Clip or slide the headrail into the brackets until it locks into place, then give it a gentle tug to confirm it is secure.
- Fit the controls and safety device. Attach the tilt wand or chain, and fix the cord or chain safety device to the wall or frame so that the cord is held taut and out of reach.
- Test the blind. Lower and raise the blind fully, tilt the slats if it has them and watch that it tracks straight and stays where you leave it.
Tips for different types of blinds
Roller blinds are the simplest to install, because the tube clips into two end brackets, although you should check which side you want the chain on before you fix the brackets.
Venetian blinds use a box-style headrail that locks into brackets, and they are heavier than they look, so a centre support is important on wider windows.
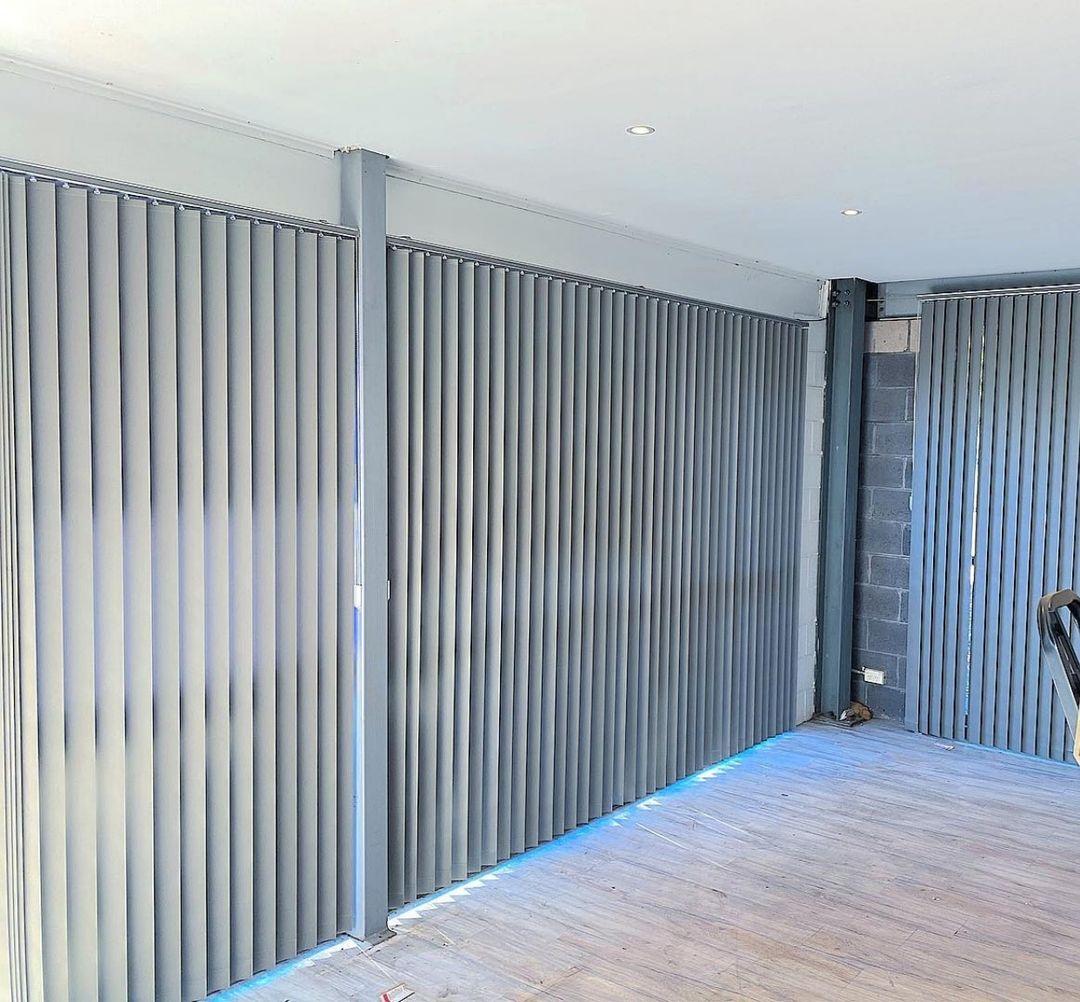
Vertical blinds need the track to be perfectly level so that the blades hang evenly, and the blades clip into the carriers once the track is up. Roman blinds carry most of their weight at the top when raised, so make sure the fixings go into solid timber.
Cord safety in Australian homes
Loose blind cords are a strangulation risk for young children, and between one and two children die in Australian homes every year because of blind or curtain cords that do not meet the safety standards, according to WA Consumer Protection. Australia has two mandatory standards for corded internal window coverings, one for the products that are supplied and one for how they are installed.
Under the installation standard, a corded blind must be fitted so that a loose cord cannot form a loop of 220 millimetres or longer less than 1,600 millimetres above the floor, and a cleat used to secure the cord cannot be fixed lower than 1,600 millimetres. Every corded blind should also come with a warning label and a cord safety device such as a cleat or tension device, and the ACCC's blind safety guide recommends fixing these to the wall or window frame so that a child cannot remove them.
Fit the safety device as part of the installation rather than leaving it for later, and keep cots, beds and furniture that children can climb away from windows with corded blinds. If you have young children, it is worth considering cordless or motorised options for bedrooms and play areas.
Troubleshooting common problems
- The blind is not hanging straight. This almost always means the brackets are not level. Take the blind down, check the brackets with a spirit level and re-fix the one that is out.
- The blind is hard to raise or lower. Check that the headrail is fully seated in the brackets and that nothing in the window reveal is rubbing against the fabric or slats.
- The slats sit unevenly when raised. On a venetian, the lift cords have usually settled to different lengths, and evening them out at the cord lock will fix it.
- There are light gaps at the sides. This is normal for an inside mount, because the fabric is slightly narrower than the reveal so that it can roll freely. If the gaps bother you, an outside mount covers the edges of the window.
When to call a professional installer
Doing it yourself makes sense for a few standard windows, but some jobs are worth handing over. Large or very tall windows, heavy timber venetians and anything over a staircase are much safer with two experienced installers and the right ladders. Motorised blinds need power and programming, and plantation shutters need their frames squared precisely to the opening, which takes practice. A professional install also means the measurements are the installer's responsibility, so if a blind does not fit, it is fixed at no cost to you.
Why choose Vision Blinds & Shutters
Vision Blinds & Shutters has been measuring and installing blinds and shutters across Sydney since 2006. Our team measures every window, brings samples to your home and installs everything we supply, so you never have to worry about getting a measurement wrong. You can browse our full blinds range online, or call us on 1300 658 465 to book a free measure and quote at a time that suits you.
Frequently Asked Questions
Can I install blinds myself?
Yes, most people can install a standard roller or venetian blind themselves with a drill, a tape measure and a spirit level. Larger, heavier or motorised blinds are better left to a professional installer.
Should I choose an inside or outside mount?
Choose an inside mount if your window reveal is deep enough and you want a neat, built-in look. Choose an outside mount if the reveal is shallow, a handle is in the way or you want the blind to block as much light as possible.
Can you install blinds without drilling?
Some lightweight blinds can be hung with tension or adhesive brackets, which can suit renters. They are not suitable for heavier blinds, and a blind that falls can damage the window or injure someone, so screw fixings are the safer choice wherever you can use them.
Can blinds be installed on bay windows or skylights?
Yes. Bay windows usually get a separate blind for each section so that each one can be adjusted on its own, and skylights need a specialist blind that runs in side channels to hold it against the glass.
How long does it take to install blinds?
A confident DIYer can usually fit a standard blind in 30 to 60 minutes once the tools are ready. A professional installer will typically fit a whole room in less time than that.